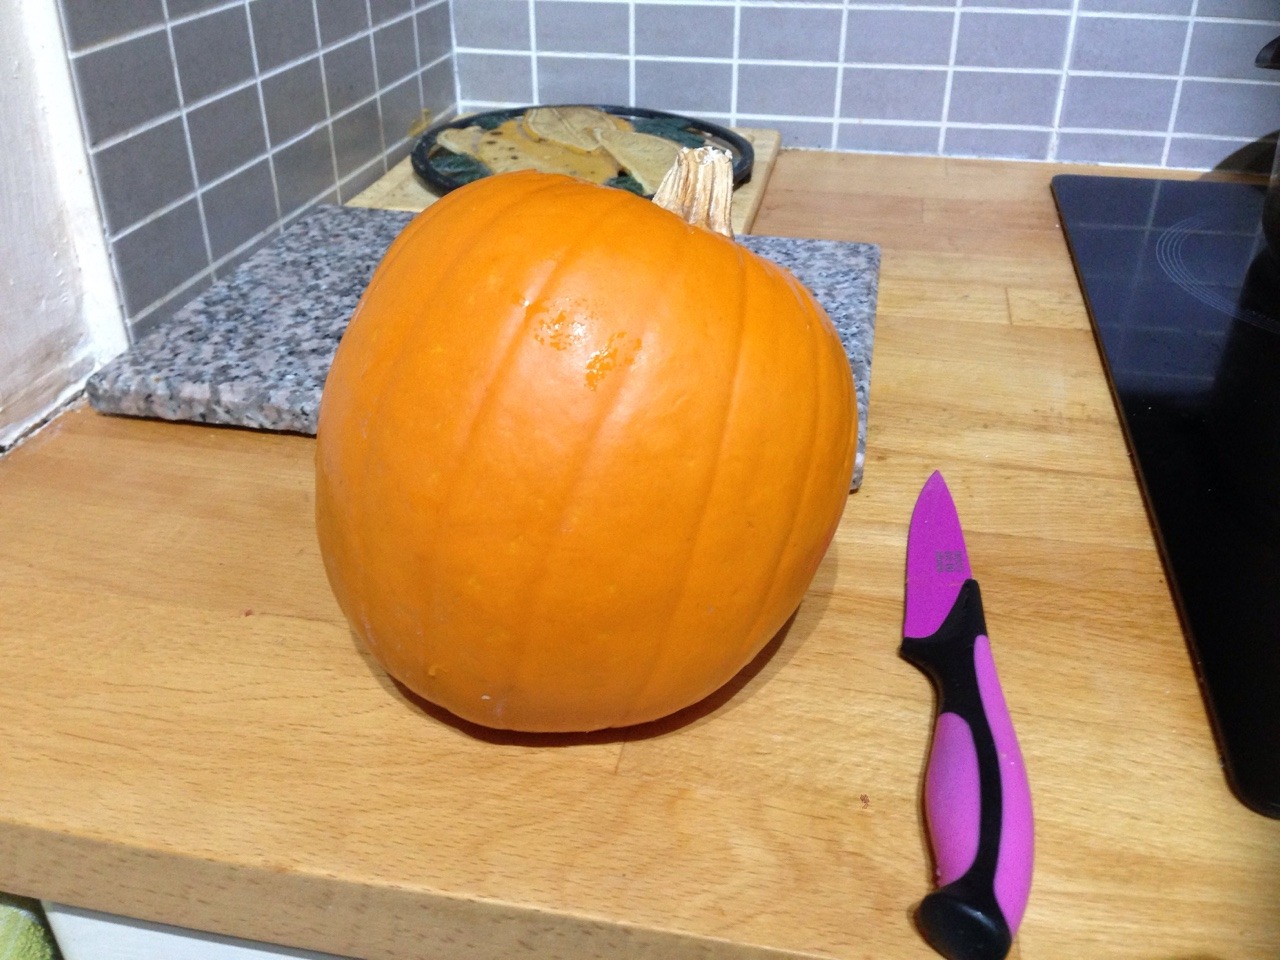
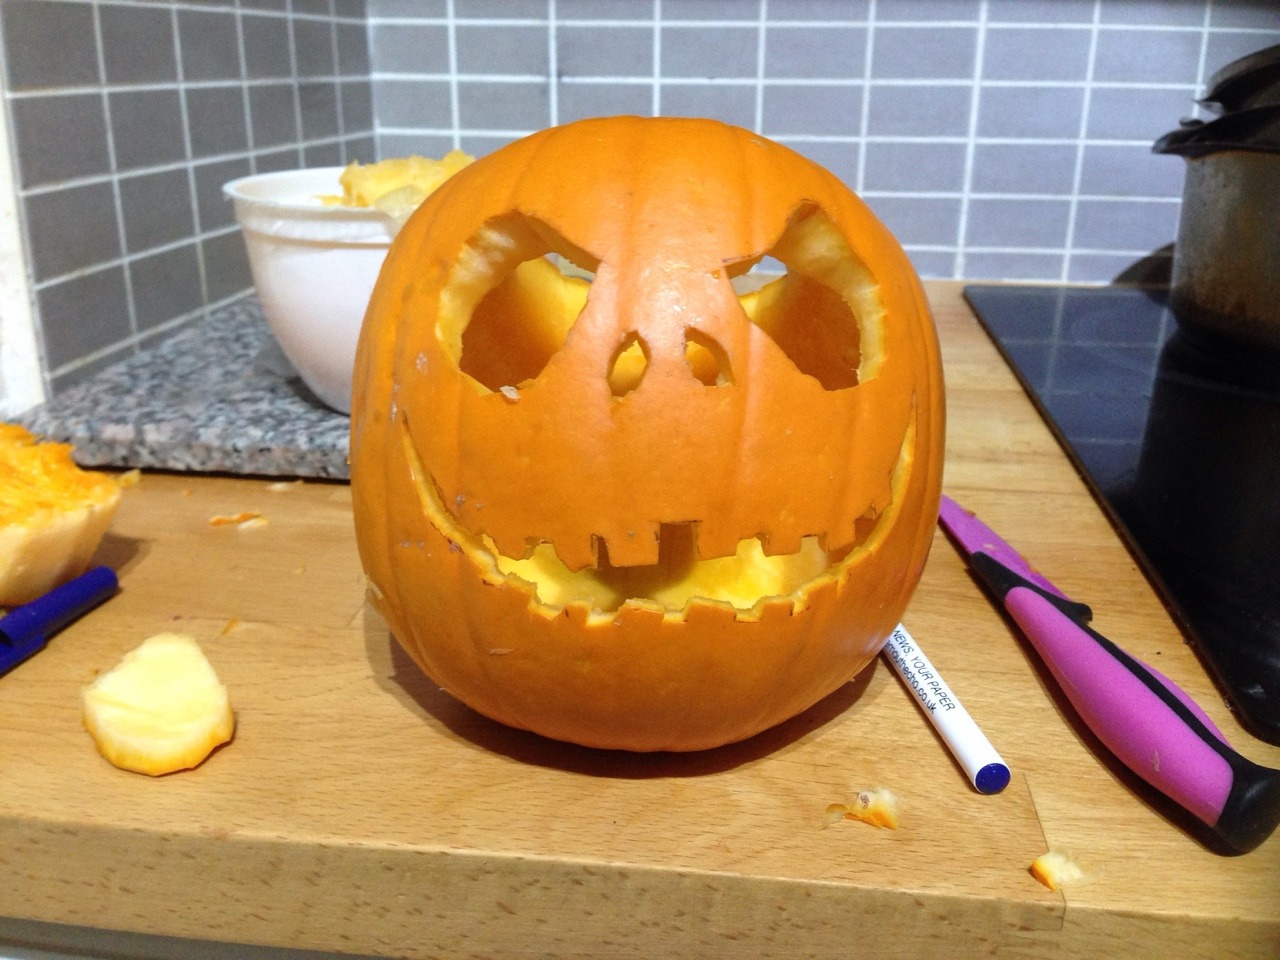
As you may have read in my previous post, that was the first time I had ever carved a pumpkin on my own. This year seems to be my first for anything Halloween related, so why not try pumpkin for the first time, too?! I came up with a really easy recipe you can use for any of the pumpkin flesh you scraped out, creating delicious cakes! This was originally supposed to be biscuits, but honestly, I can't make biscuits to save my life. I don't know whats wrong with me, I follow recipes exactly and still come out with flat cakes, so I'm just going to go with it for this one and call them cake bites!
So, what will you need for these little mouthfuls of pumpkin deliciousness?

- Plain flour (300g)
- White sugar (300g)
- Margarine (125g)
- Salt (1/2 tsp)
- Bicarbinate of soda (1 tsp)
- Baking soda (1 tsp)
- Egg (1)
- Vanilla extract (1tsp)
- Mixed spice (3tsp)
- Pumpkin pulp (250g)
(TOP TIP: If you find yourself having too little/too much pumpkin pulp, divide the number by 250g. For example, if you had 220g pumpkin, then do 220/250 which is 0.88. Times the measurements of the other ingredients by that number, so the sugar and flour are both 300/0.88, so that would be 264g of them both!)

First, you need to cream together your sugar and butter, until you get a pale, sugary paste. This step doesn't take long at all!
Grab the pumpkin pulp, and throw it in a food processor. I hadn't cooked my pumpkin (and I was not aware that was something you could do), though after a bit of Googling, I found raw pumpkin is completely fine to eat, so that makes this recipe a lot easier and quicker!!
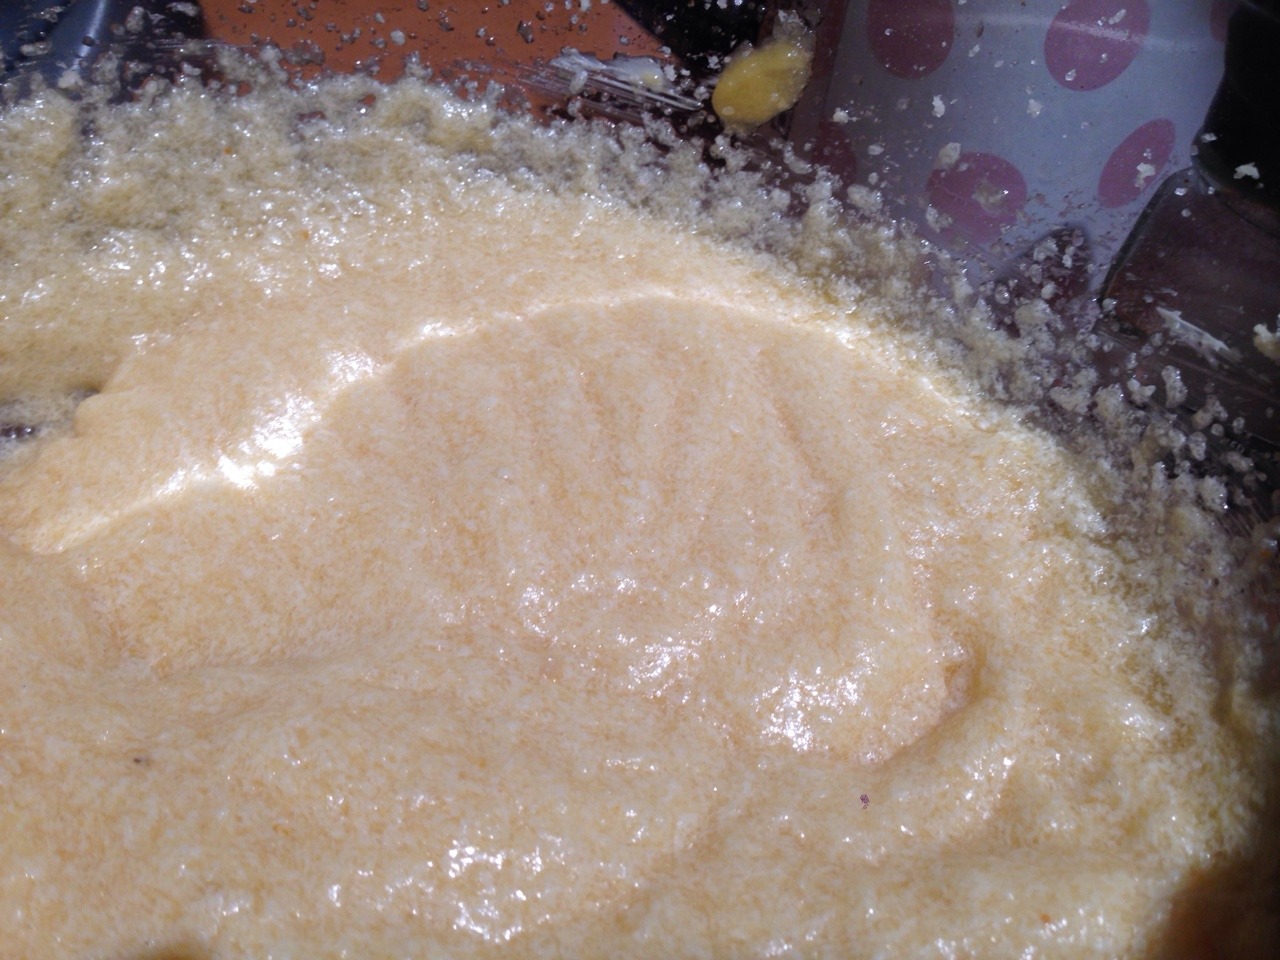
Now you need to add the wet ingredients. Crack in the egg, and add the pumpkin and vanilla extract. Whizz it all up and you're left with this strange looking wet mixture.
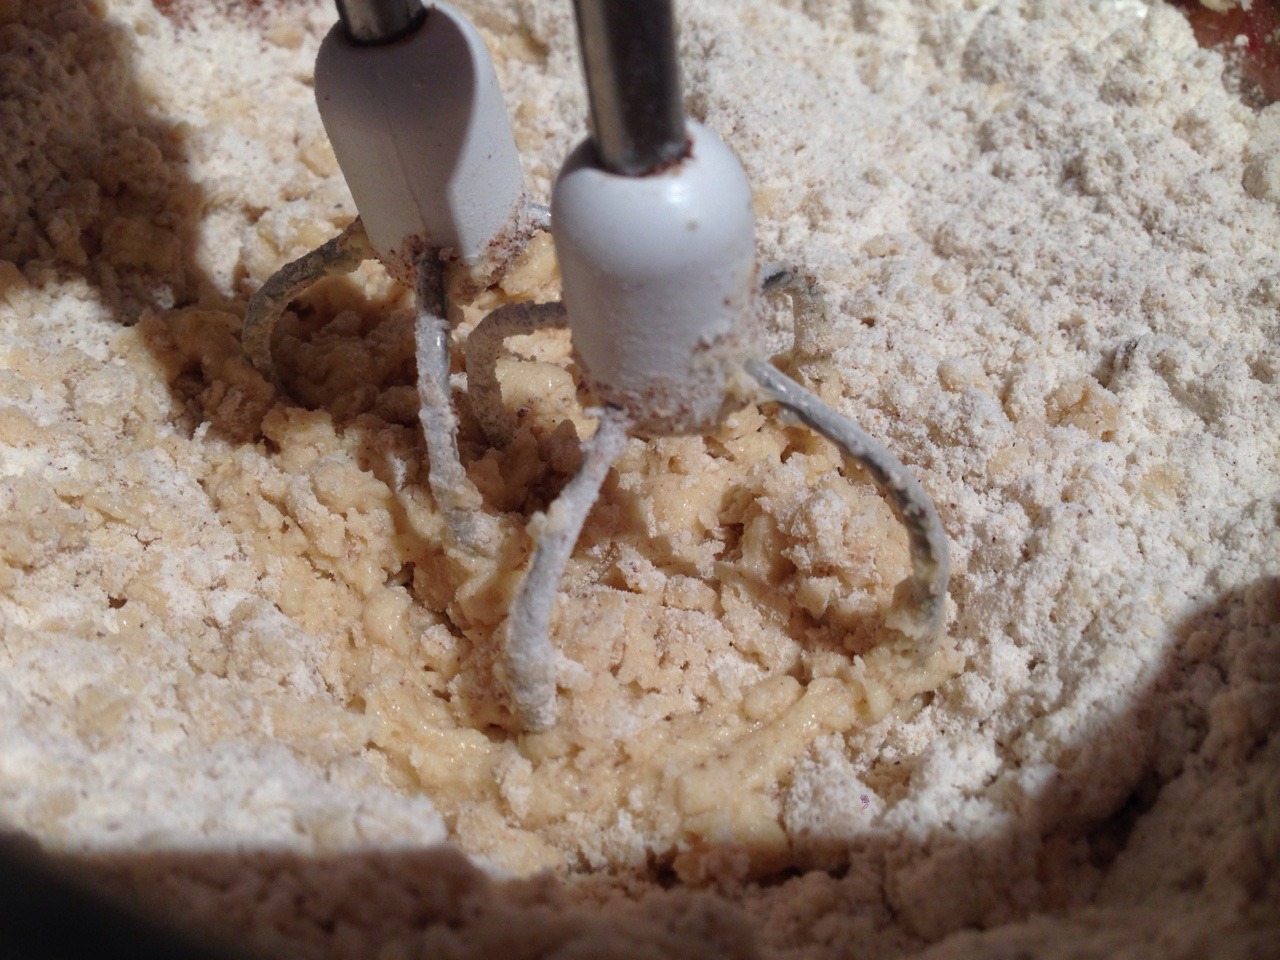
Now you add the dry ingredients! Throw in the bicarbonate of soda, baking powder, salt, plain flour, and mixed spice, and give it a good blend. And then that's it!

Scoop the mix into a baking tray, just putting 1-2 teaspoons on in a blob. You could try making these into cute cupcakes too, they'd just take a little longer to cook!

And here they are! I've sprinkled cinnamon sugar on top of mine, and I tried making a thin white icing to drizzle, on some of the others too!
Honestly, these are absolutely delicious and a great way to use up those icky pumpkin insides!
I hope you all have a wonderful Halloween, and enjoy this scrumptious recipe!
- Sian