
Let's just begin, shall we? Of course, you're going to need the obvious- a pumpkin, a spoon, and a knife... and maybe a pen if, like me, you enjoy planning beforehand. If you want to be all fancy and grab yourself a carving kit, go ahead!
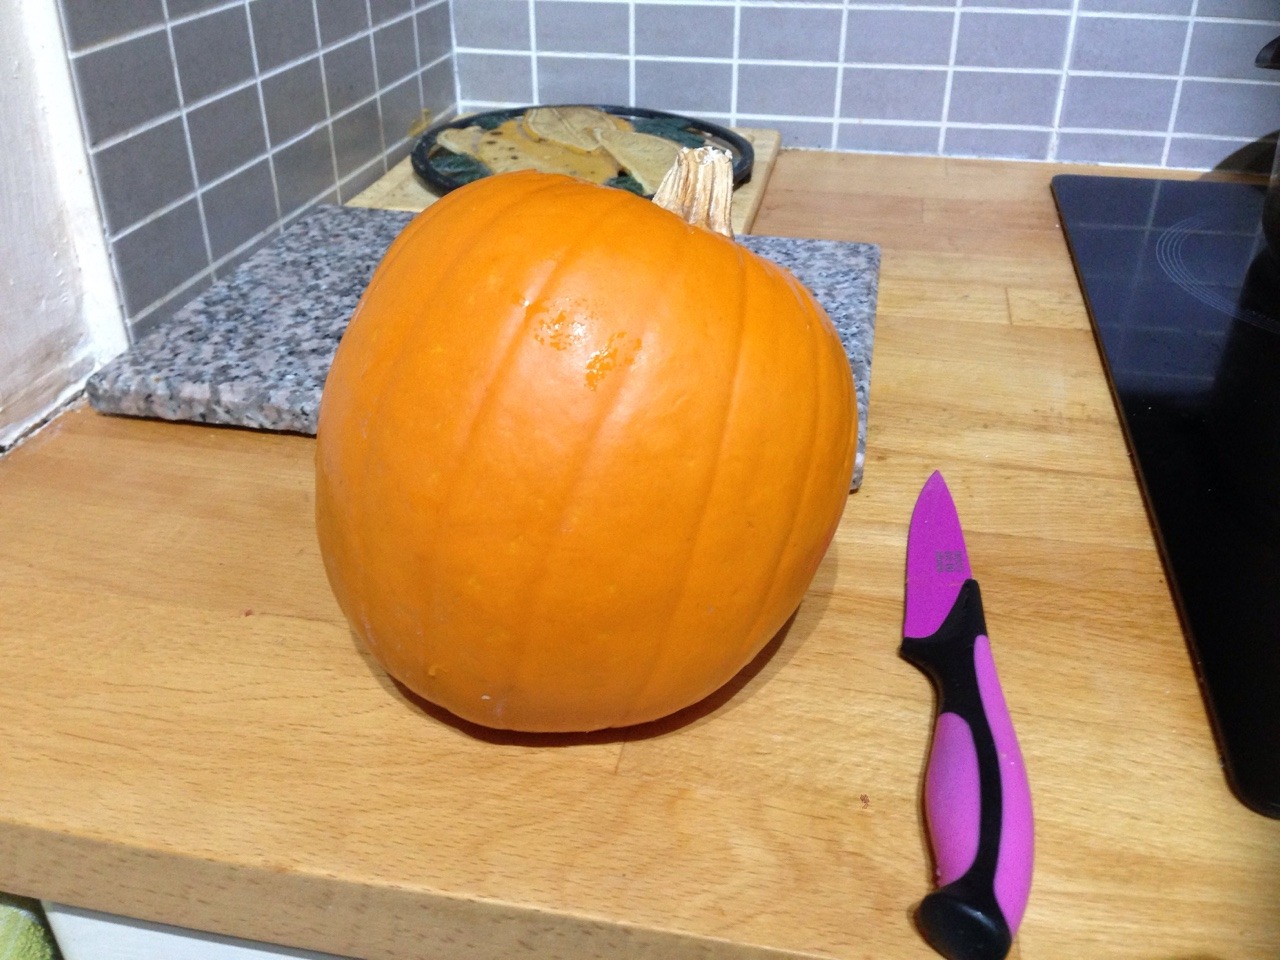
The first step is co carefully cut the lid off (don't throw it away, you'll need it later!) and scrape out all those insides. You want to get as much of them out as you can- the less insides there are, the easier it is to cut, and also the more pumpkin you have for the recipe!

If, like me, you're a bit clumsy and enjoy planning beforehand, this is where your pen comes in. Start to draw an outline onto your pumpkin. I looked up images on Google and kind of chose a few that looked good, then drew it as best I could on the pumpkin

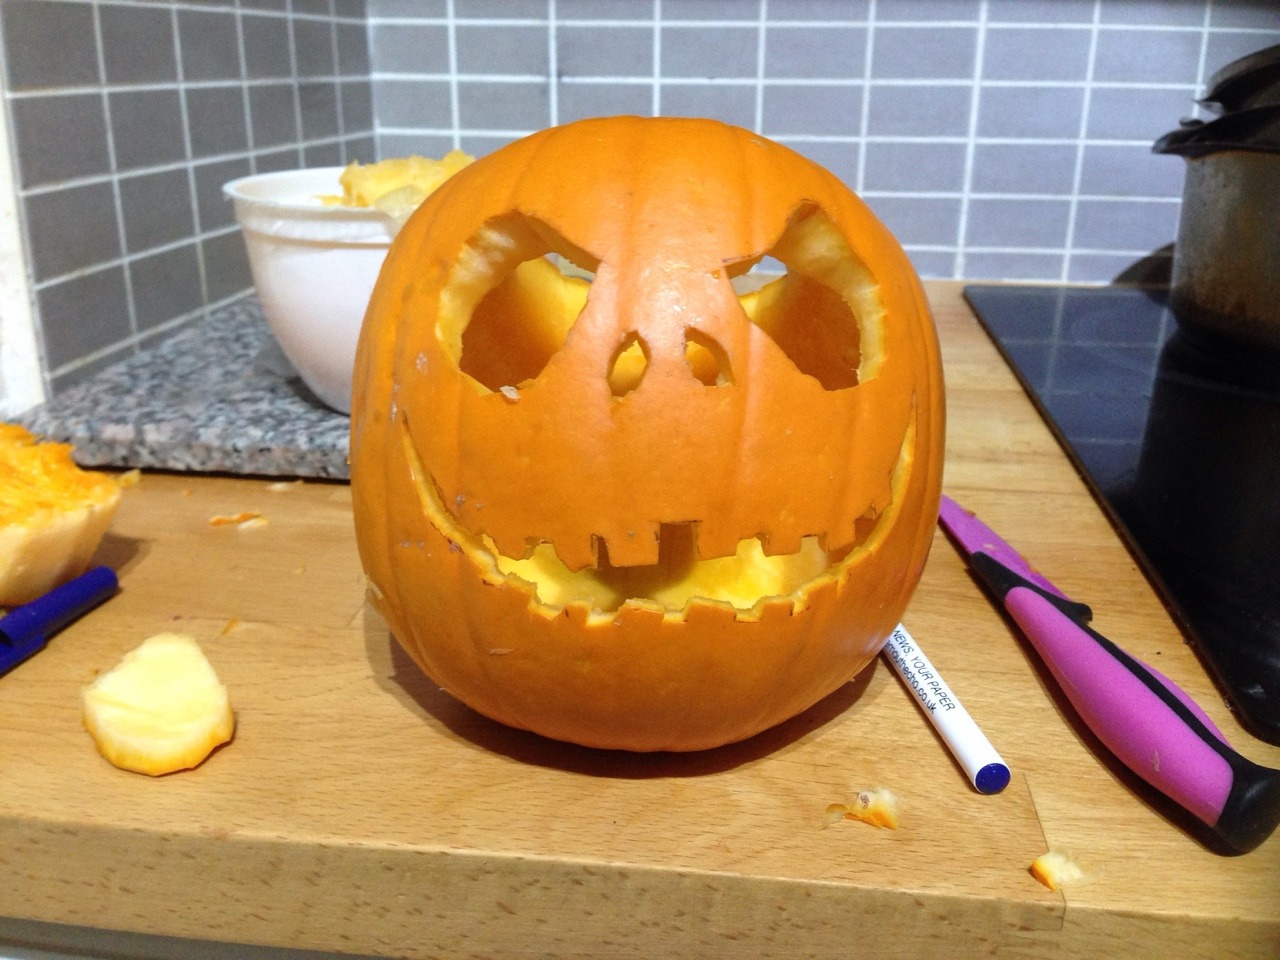
This is where the scary stuff happens. Grab the knife and CAREFULLY cut out where you've marked. As you can see with mine, I didn't do it very neatly, however that didn't actually ruin the end pumpkin, so don't worry if it's a bit messy! Just make sure you keep your hands out the way of the blade.

I found the mouth to be the hardest part, so I did it in smaller sections, taking breaks. Make sure you get all the teeth and the sharp points of the corners of the mouth!
Now all you need to do is light a little tealight, place it in the pumpkin, and replace the lid. And there you have it! A beautiful Jack Skellington halloween pumpkin!
(Can we just take a second to appreciate this being my first proper Halloween so I am VERY excited and proud of my beautiful creation)
HAPPY CARVING!
